There are two main steps to scheduling an appointment without an Online Scheduler.
1. The first is setting up the provider's availability and appointment duration. *Note: If you have already completed this step, click here to skip to step #2.
2. The second step is to book an appointment for the patient through the dashboard during the provider's available time slots.
In order to set up a provider's general availability and consultation/ appointment durations:
- Select "Manage Account" from the vertical list on the left-hand side of the page.
- Select "Setup" from the drop-down list.
- Select "Locations" from the drop-down sub-list.
- Select the "Edit" button under the "Actions" column on the right-hand side of the center screen.
- On the "Office Details" page, select the "Office Providers" tab and find the desired provider.
- Select the "Manage Schedules" button for your desired provider to set weekly availability. After you have entered the appropriate weekly availability, click the "Done" button.
- Select the "Manage Consultation Fees" button for your desired provider to set a consultation fee (optional) and duration.

Adding a Patient Appointment:
- Navigate to the "Dashboard" page of the Teledentix portal.
- On the right-hand side of the page, select the "Add Appointment" button.
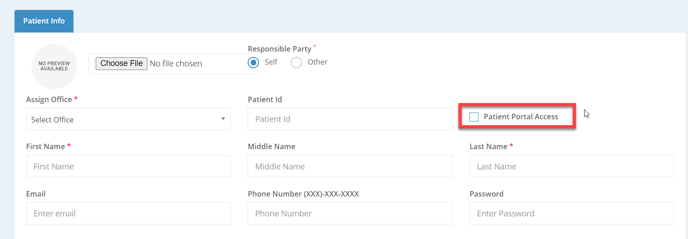
- You may search an existing patient via "Search by Patient Name" OR "Create New Patient."
Tip: Always search prior to adding a new patient appointment as adding a new patient appointment to avoid patient chart duplication. You are able to invite new patients to register for their portal by checking the "Patient Portal Access" checkbox.
- Select the Office, Provider, and Appointment Type.
- Select the date and time.
- "Book Appointment" to save.