An Online Scheduler allows to patients to access a website and book appointments with providers based on predetermined appointment types and available times. When creating an Online Scheduler, you will place Packages into appointment slots and then publish those appointment slots, allowing patients to book the specified Package during one of the provider's scheduled times.
In order to create an online scheduler:
- Navigate to the "Online Scheduler" page by selecting "Manage Account" > "Setup" > "Online Scheduler" from the drop-down list on the left hand side of the page.
- On the "Online Scheduler" page, you can create a new Online Scheduler by clicking the "+Add Online Scheduler" button in the top right-hand corner of the page.
- On this page, in the "Online Scheduler info" tab, fill out the prompt's to your specifications. Keep in mind, you can fill the "Assign Packages" selection with your pre-created packages discussed above. When you have filled out the prompts to completion, click the "Next" button to advance.
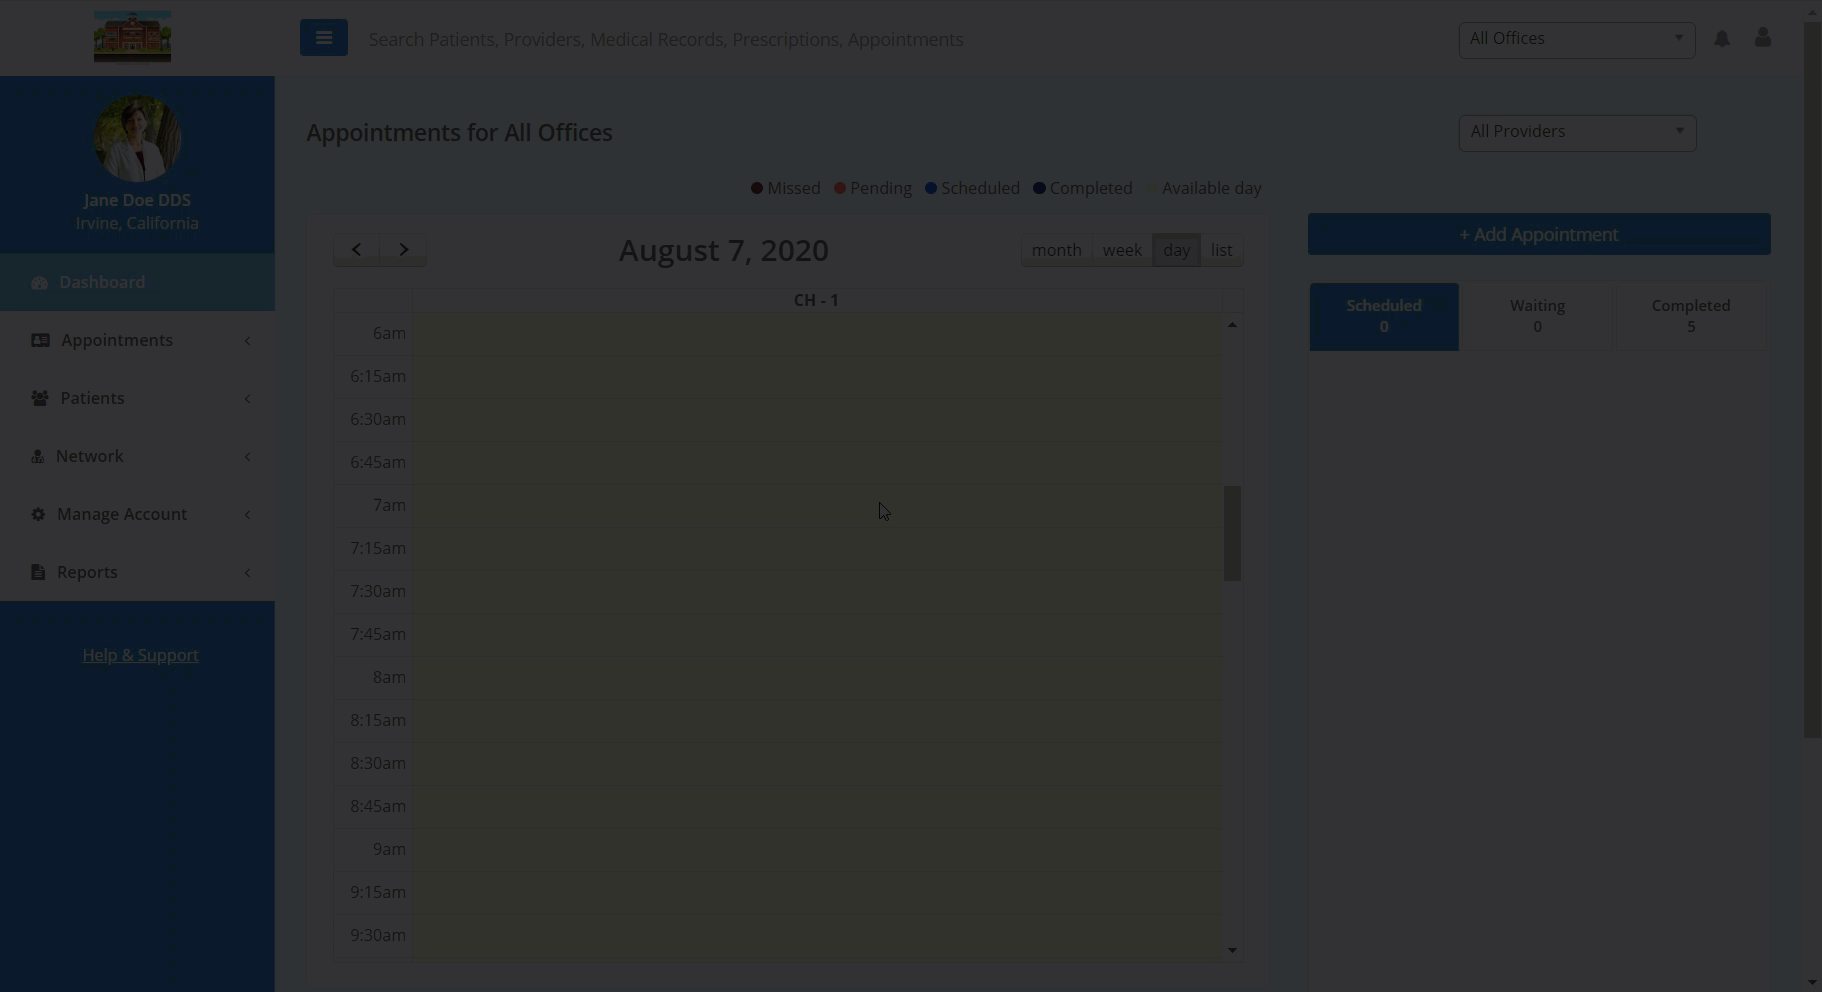
- In the "Scheduler" tab, begin by selecting all the appropriate dates for your schedule from the date selector in the top left hand corner of the tab.
- After selecting the appropriate dates, in the center of the screen, click your desired times and follow the prompt to add a package to those times. When completed, click the "Next" button to advance.
- Once you have added all the desired packages to the desired times, you can save this daily schedule and export it to all your scheduler dates by clicking the "Save Template" button in the top right hand of the tab, and then exporting this template to your other dates by selecting the date and then clicking the "Load Template" button to load the desired template.
- In the "Select Template" tab, follow the prompts to build your micro-site, which is the landing page for your patients when they book an appointment. When you have completed the prompt, select the "Next" button to advance.
- In this tab, you are able to assign patient forms, both for before or after booking. To learn more about how to create patient forms or how to manage and assign patient forms individually, follow the links above.
- In the "Description" tab, you will find the URL for the micro-site, where your patients can book appointments, as well as a button URL to add to your own website.
- Once you have finished completing the prompts, click the "Save" button at the bottom of the screen to save your Online Scheduler. To publish your online scheduler (the micro-site will go live), click the "Publish" button at the bottom of the page.
- To edit your Online Scheduler, navigate to the Online Scheduler page and select "Edit" from the action column in the right hand side of the screen.