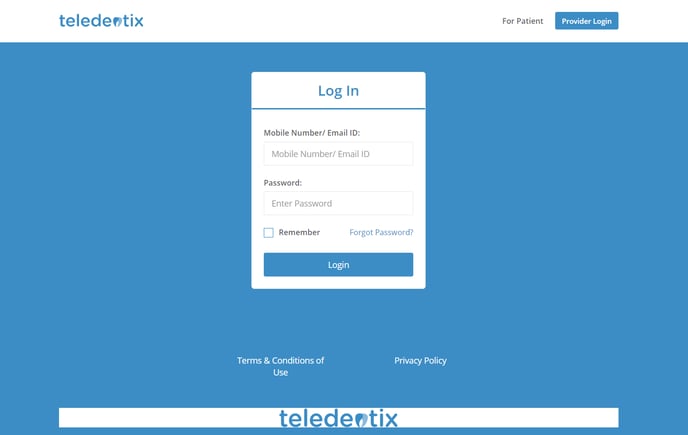
Log-In
- Visit the provider log-in page or your client specific URL. Enter your credentials to log-in.
Creating an Online Scheduler
- If you would like patients to be able to book online from a landing page, follow along with the pages below.
Editing an Online Scheduler
- After publishing your Online Scheduler, you can return to edit at any time by following the steps below.
- Select "Manage Account" from the vertical list on the left side of the page.
- Select "Setup" from the drop-down list.
- Select "Online Scheduler" from the drop-down sub-list.
- On the "Online Schedulers" page, under the "Action" column, select the "Edit" button to edit your Online Scheduler.
Joining a Patient Initiated Video Conference Appointment
- After a patient has booked an appointment, they are able to log into their patient portal and initiate the video conference for the appointment.
- When a patient initiates the video conference, the provider will receive a notification confirming that their patient has joined a video conference and the patient will be in the provider's "Waiting Room."
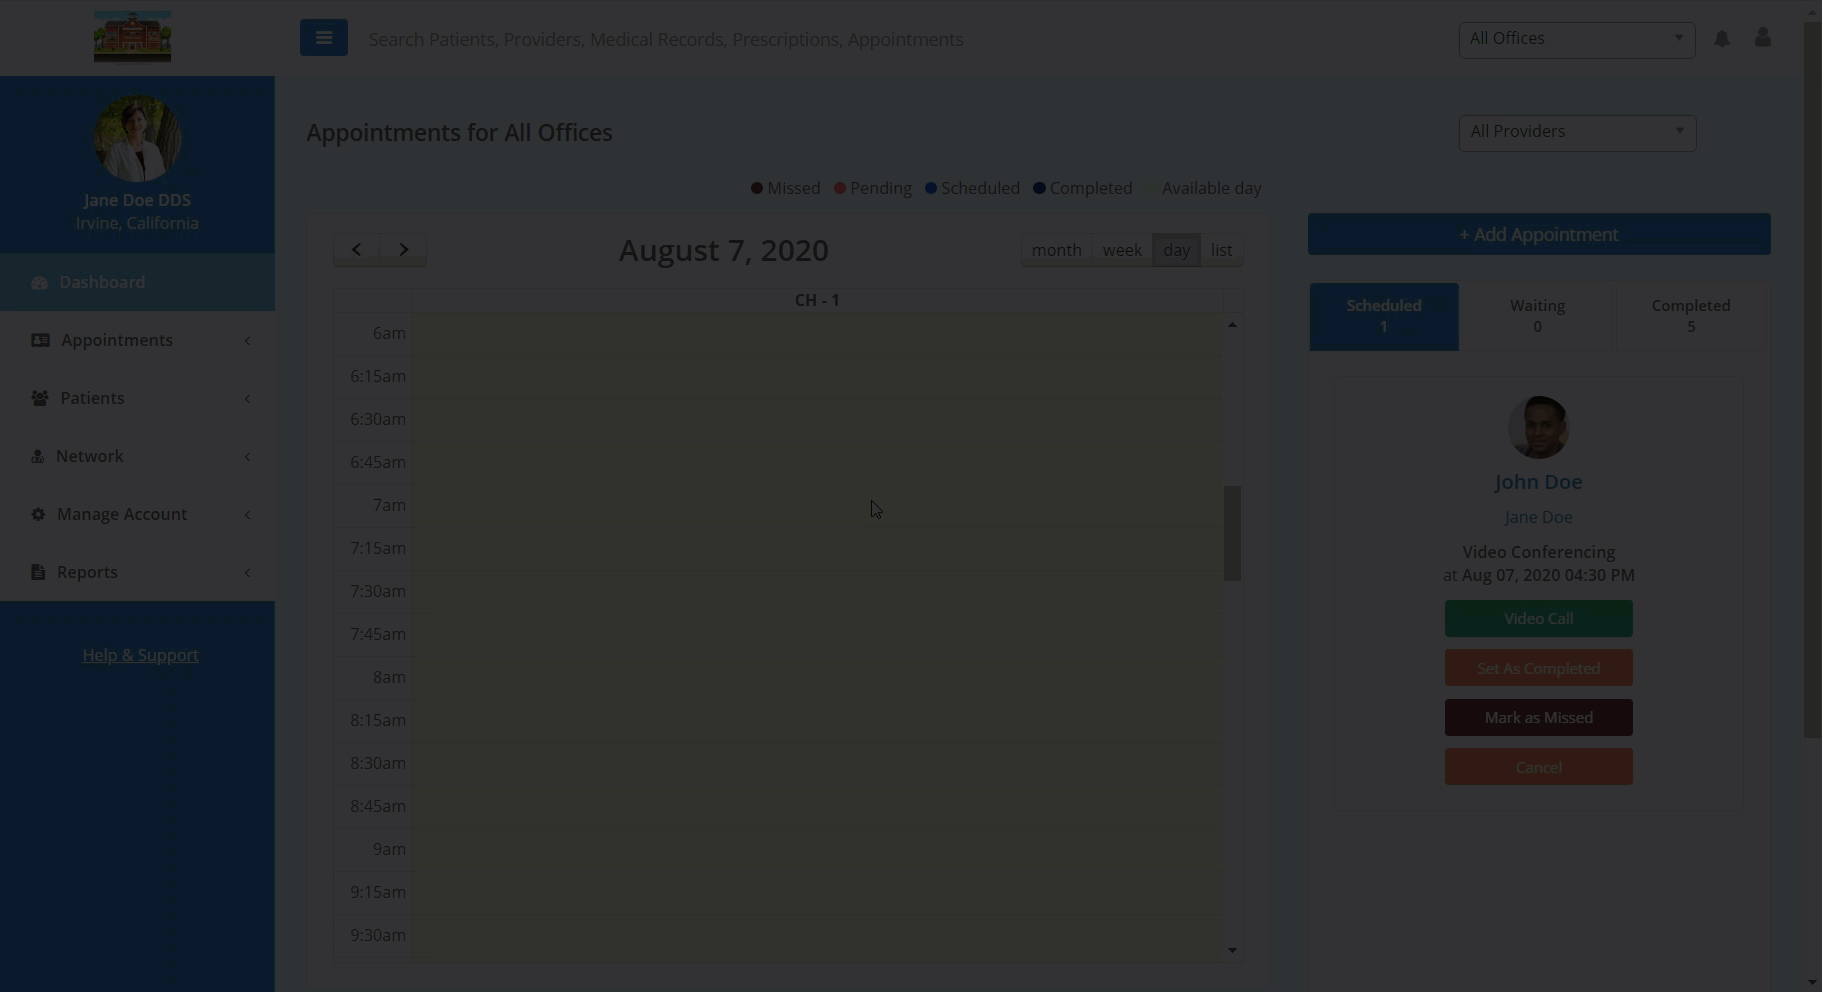
- The provider can join the patient-initiated appointment by either clicking through on the notification or by clicking the "Join Video Call" button associated with the appointment in the "Waiting" tab on the right side of the page.

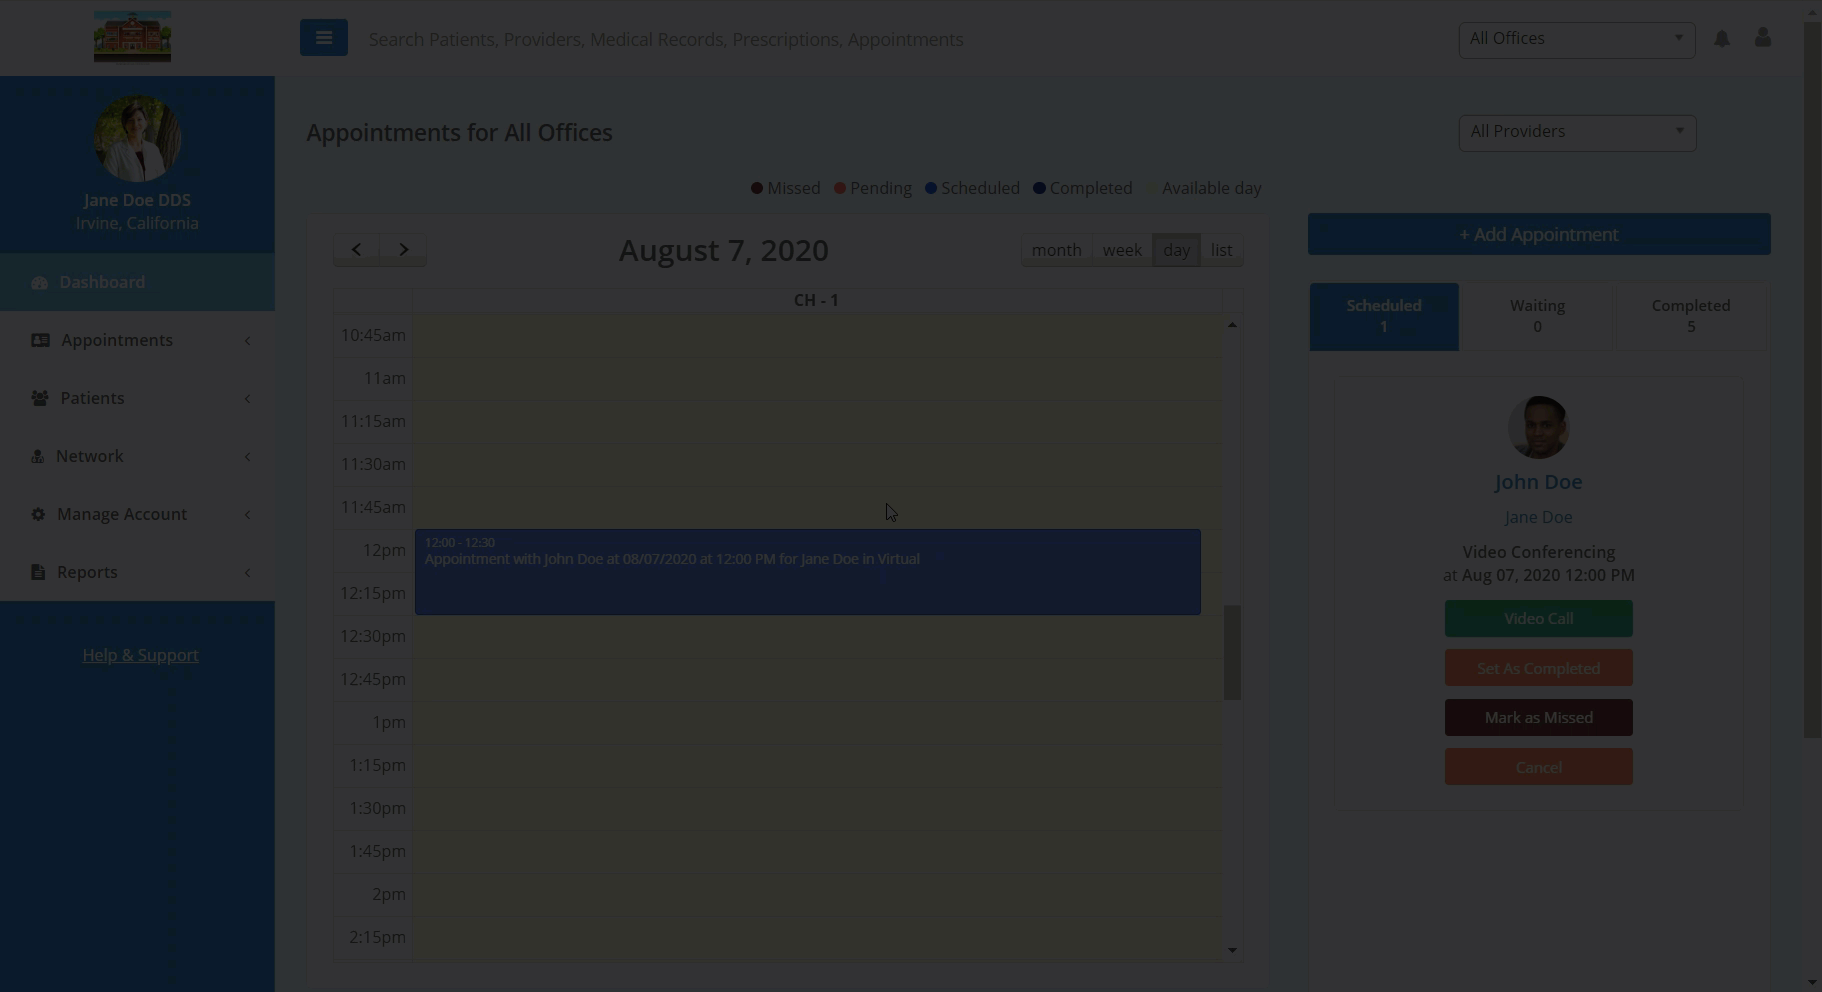
Initiating a Video Conference Appointment from a Provider Account
- Providers are also able to initiate appointments from the provider portal. Providers can initiate an appointment video conference either by clicking the corresponding "Video Call" button in the "Scheduled" tab on the right of the page or by clicking into the Appointment Details page and clicking the "Video Call" button on the right side of the page.
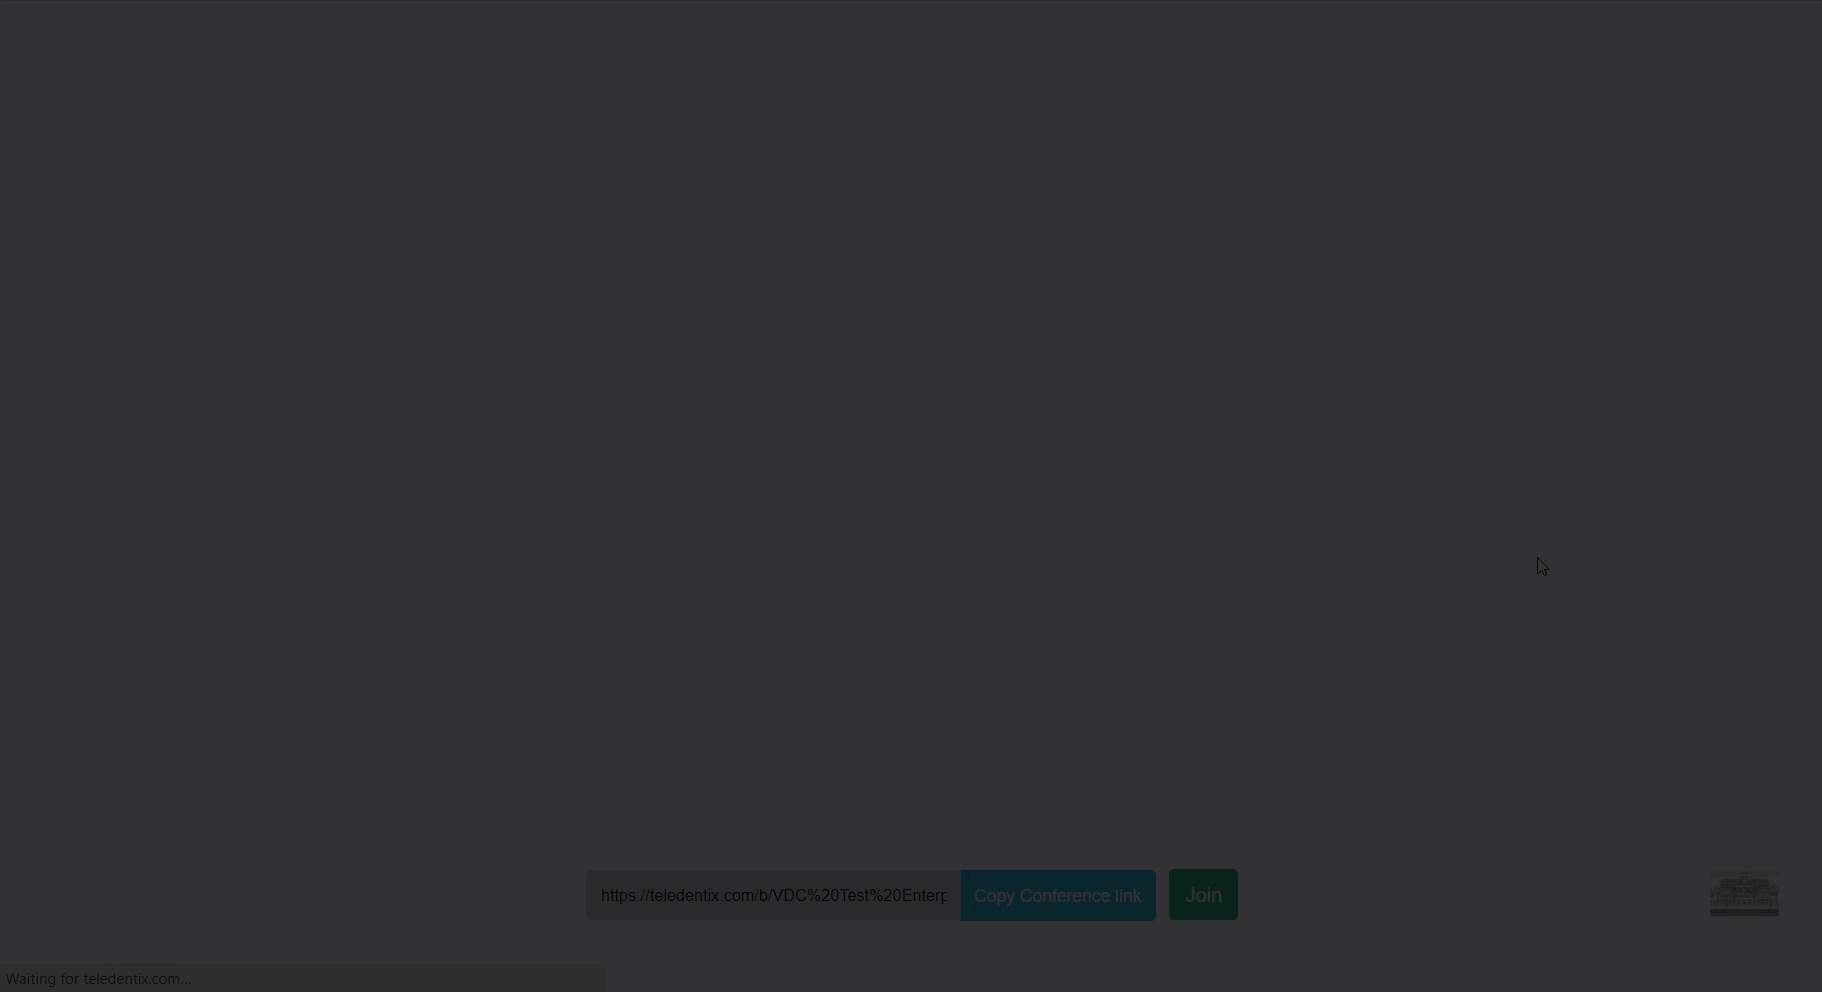
Launching a Video Conference
- After initiating or joining an appointment video conference, you will be asked to launch the video conference in new window your browser. To launch the video conference, click the "Join" button at the bottom of the page.
- You may need to adjust the permissions for your camera or microphone. To learn more about launching a video conference, see Launch a Video Conference.
- When you have finished the video conference appointment, click the "Leave" button at the bottom of the page to leave and end the session.
Adding Progress Notes
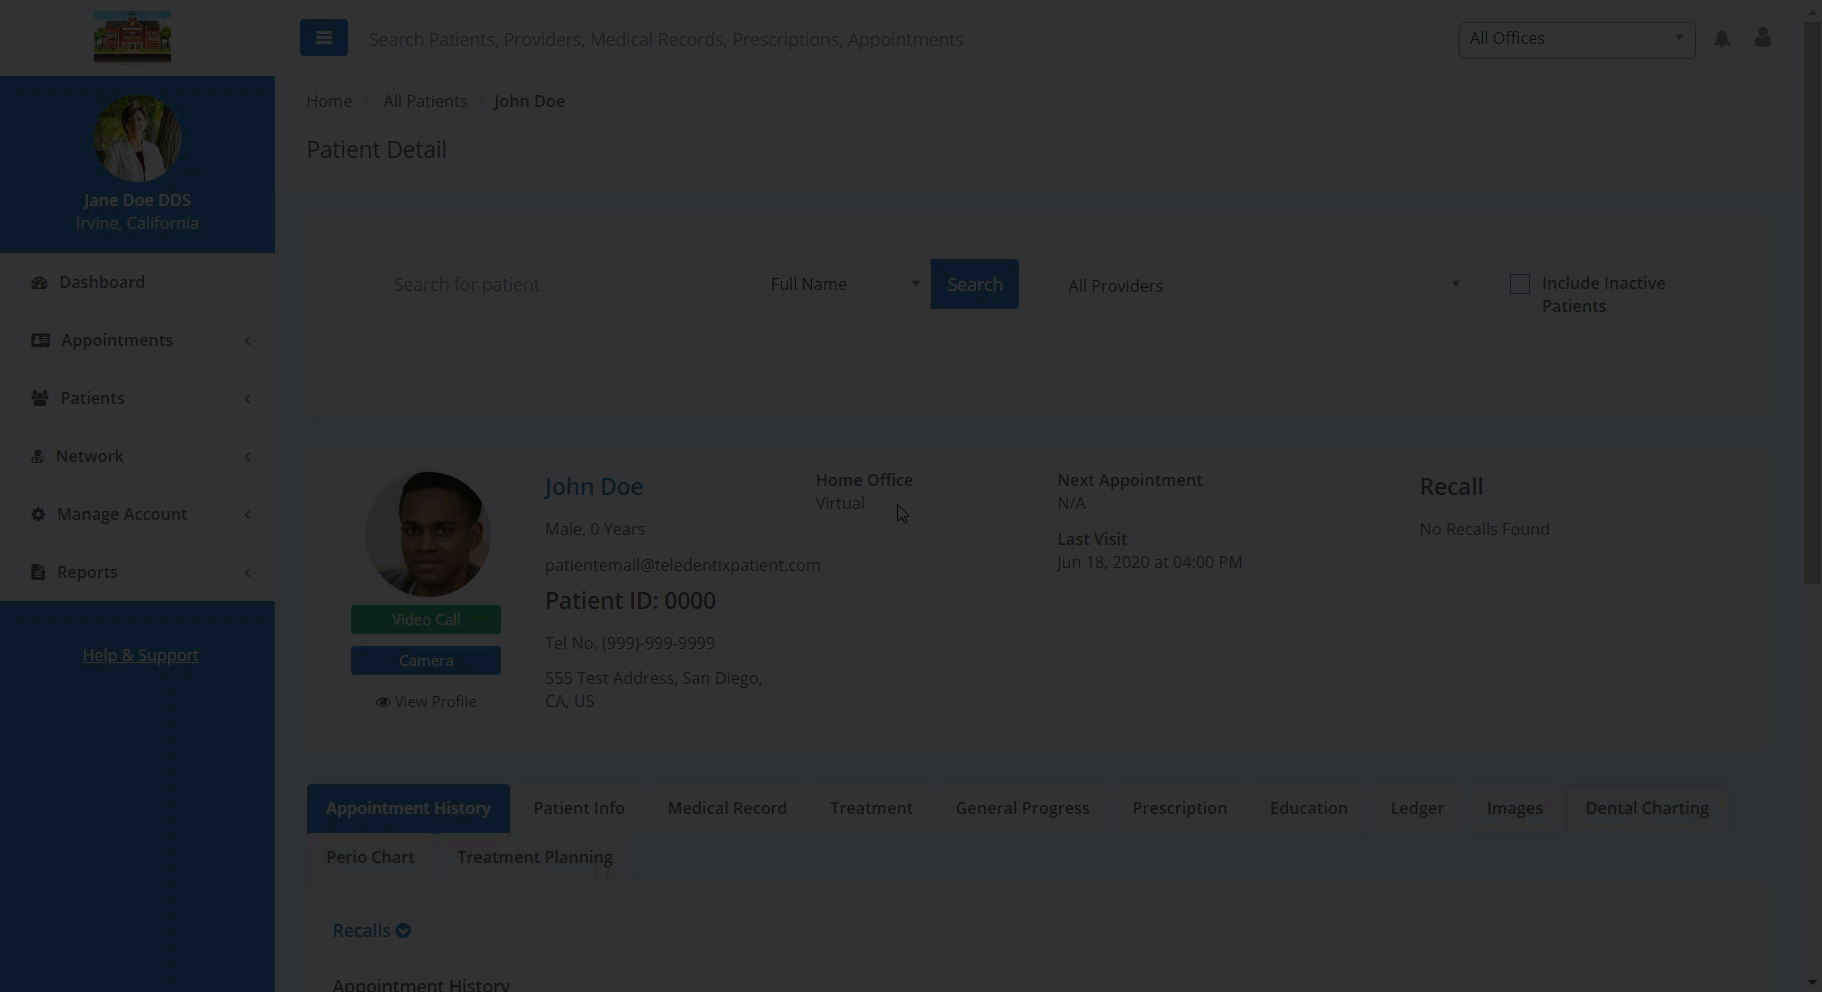
- After completing the session, you are able to add progress notes on the patient's account by navigating into their patient details and adding a note under the "General Progress" tab. To navigate to their patient details page, click through the corresponding patient name under the "Scheduled" tab or search them under "Patients" >> "All Patients."
- For more details about adding progress notes, please see Using Macro Notes and Patient Progress Notes.
- For where to find patient details, please see View and Edit Patient Details
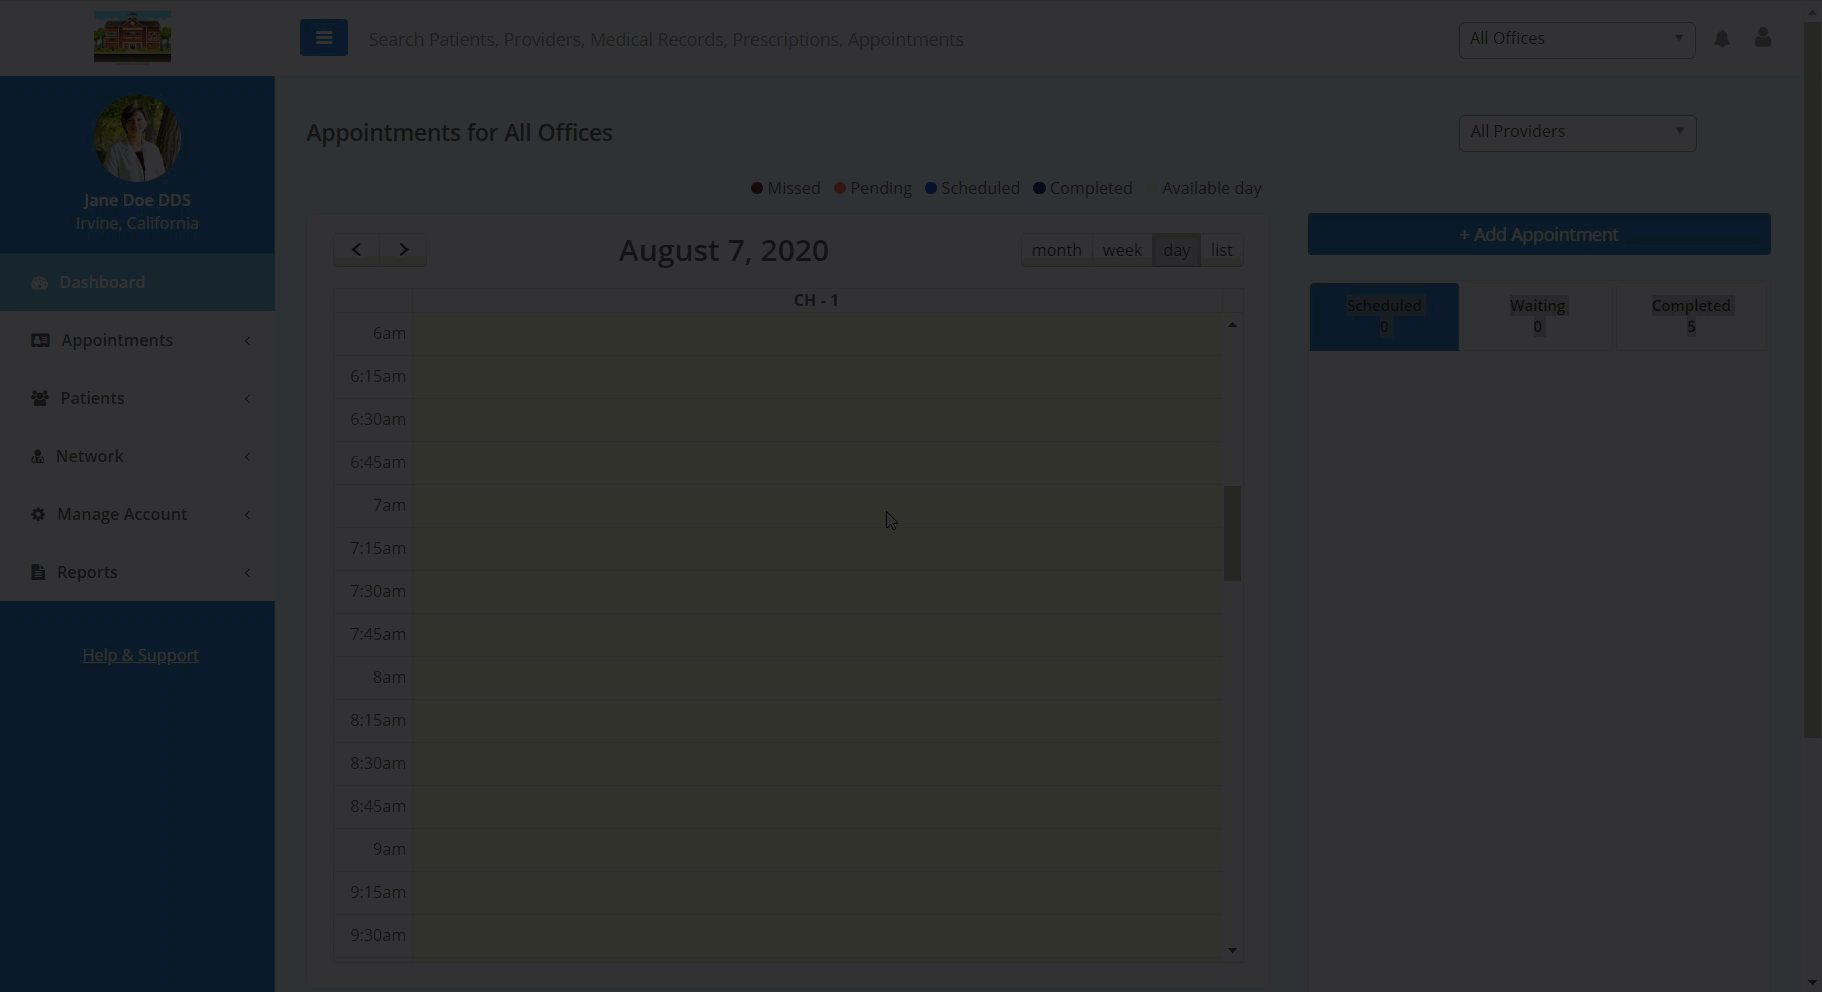
Setting the Appointment Status
- To finish the appointment, set the appointment to completed by clicking "Set as Completed" in the "Scheduled" tab on the right side of the screen.
- You are also able to mark the appointment as completed in the "Appointment Details" page. Navigate to the appointment details page by clicking the appointment in the center calendar or by clicking through the appropriate appointment under the right hand side "Scheduled" or "Completed" tab.
If you have any further questions, please feel free to submit a help ticket. Thank you!